
Is It Time for a Hot Water Heater Element Replacement?
Hot water heater element replacement is one of the most common — and fixable — reasons your electric water heater stops delivering hot water.
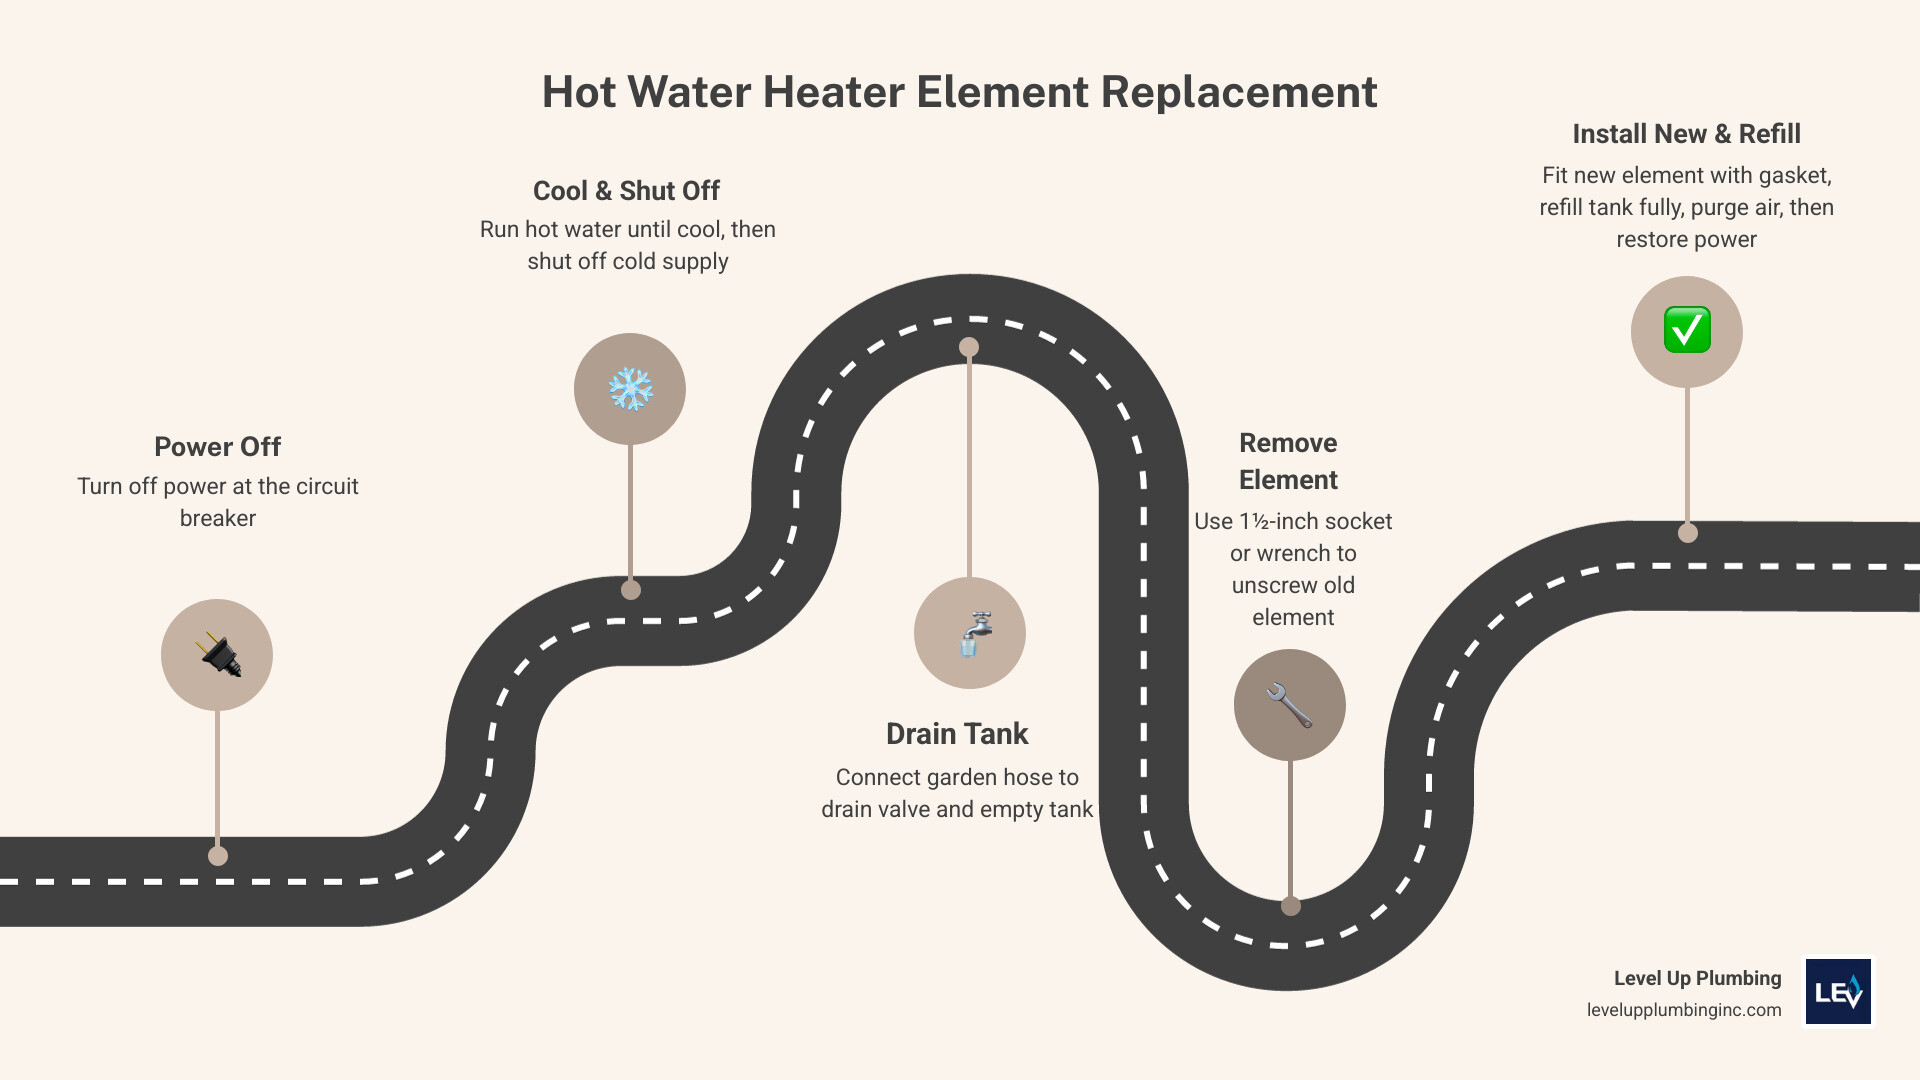
Quick answer: How to replace a hot water heater element
- Turn off power at the circuit breaker
- Run hot water until it cools, then shut off the cold water supply
- Drain the tank using a garden hose connected to the drain valve
- Remove the old element with a 1½-inch socket or element wrench
- Install the new element with a fresh gasket, hand-tighten then wrench-tighten
- Refill the tank completely and purge all air before restoring power
- Check for leaks and restore power only when the tank is full
Most electric water heaters have one or two heating elements. When one fails, you lose hot water — or it runs out much faster than it used to. The good news: this is a repair many homeowners can handle themselves with the right tools and precautions.
Heating elements typically last 8 to 15 years, depending on your water quality and how hard your system works. In Southern California, where hard water is common, mineral buildup can shorten that lifespan significantly.
Before you call a plumber or buy a new unit, it’s worth knowing whether a simple element swap will solve the problem.
This guide walks you through everything — from spotting the warning signs, to choosing the right replacement element, to completing the job safely.
Signs You Need a Hot Water Heater Element Replacement
How do you know if your heating elements are actually the source of your cold-shower woes? Because residential electric water heaters typically utilize two elements—an upper and a lower one—the symptoms of failure depend heavily on which part has given out.
If the upper element fails, you will likely have no hot water at all. This is because the upper element is responsible for heating the top portion of the tank first. If the lower element fails, you will experience a dramatic drop in hot water capacity. Your shower might start warm but turn icy cold in just a few minutes.
Common signs that it is time for a hot water heater element replacement include:
- Lukewarm water: The water never reaches its set temperature, even if the thermostat is dialed up.
- Slow recovery time: It takes hours rather than minutes for your tank to reheat after someone takes a shower.
- Tripped circuit breaker: A shorted element can draw excessive current and repeatedly trip your home’s electrical panel.
- Strange noises or burning smells: Hissing, sizzling, or a faint electrical burning smell near the access panels can indicate an element is struggling against thick mineral scale.
If you are constantly running out of hot water, it’s important to evaluate the root cause. You can learn more about diagnosing supply issues in our guide on how to Stop Running Out of Hot Water with Level Up Plumbing.
Diagnosing the Need for Hot Water Heater Element Replacement
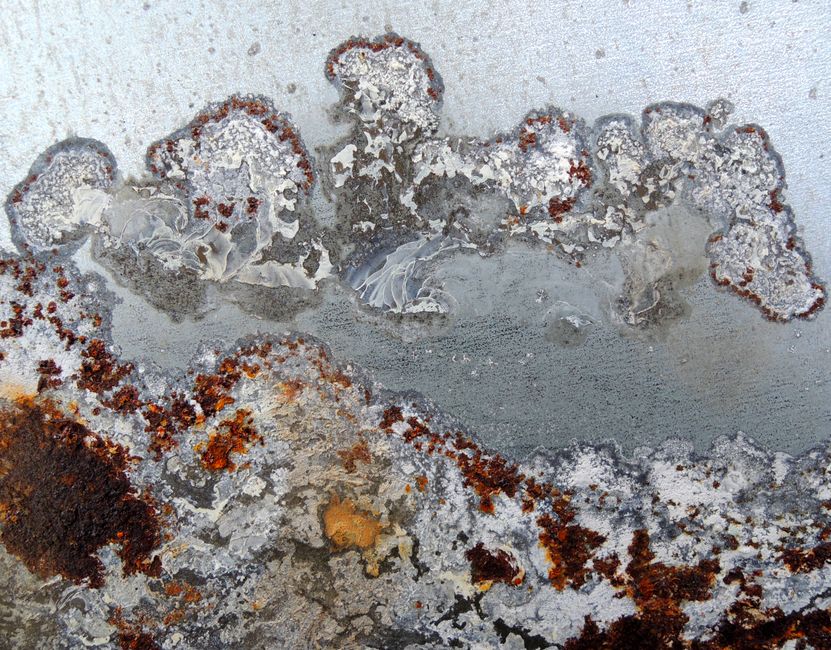
Before purchasing replacement parts, you should verify that the element is actually broken. A simple visual inspection isn’t always enough, as microscopic cracks or internal electrical breaks won’t show on the outside.
To accurately test your elements, you will need a digital multimeter. For a comprehensive overview of this diagnostic process, you can refer to How to Change Hot Water Tank Element: A Complete DIY Guide.
Here is the quick diagnostic procedure:
- Shut off the power at the main circuit breaker. Double-check that no voltage is present at the water heater using a non-contact voltage tester.
- Remove the metal access covers and fold back the insulation to expose the elements.
- Disconnect at least one of the power wires from the screw terminals on the element.
- Set your multimeter to the lowest Ohms ($\Omega$) setting (or resistance).
- Place one probe on each of the two screw terminals. A functioning 240V/4500W element should read between 10 to 30 Ohms. A reading of zero (no resistance) or infinity (open loop/no continuity) means the element is bad and must be replaced.
- Next, test for a short to ground. Place one probe on a terminal screw and the other probe on the metal body of the water heater tank. If you get any reading other than infinity, the element is shorted and is highly dangerous.
High-Density vs. Low-Density (Foldback) Elements
When shopping for a replacement element, you will encounter two primary styles: high-density and low-density (often called foldback) elements. Understanding the difference is crucial, especially for homeowners in Orange County, CA, where municipal water can carry high mineral content.
| Feature | High-Density Elements | Low-Density (Foldback) Elements |
|---|---|---|
| Surface Area | Smaller, compact shape | Larger, folded-back design |
| Surface Temperature | Very hot per square inch | Cooler per square inch |
| Mineral Scale Resistance | Low (scale builds up quickly) | High (resists scale accumulation) |
| Lifespan in Hard Water | Shorter | Significantly longer |
| Initial Cost | Slightly cheaper | Slightly higher |
High-density elements are standard in most brand-new water heaters. However, because they concentrate their heat over a smaller surface area, minerals like calcium and magnesium quickly bake onto the metal. This creates an insulating pocket of scale, causing the element to overheat and burn out prematurely.
Replacing a standard high-density element with a low-density foldback element of the same wattage is highly recommended. Because the foldback design spreads the electrical wattage across a much larger surface area, it operates at a cooler temperature while producing the exact same amount of hot water. This prevents mineral scale from adhering to the element, dramatically extending its lifespan.
Essential Tools and Safety Precautions
Working on an electric water heater means dealing with two potentially hazardous elements: high-voltage electricity (usually 240 volts) and scalding hot water. Having the correct tools and safety gear on hand before you start will prevent accidents and keep the project running smoothly.
For a broader understanding of how regular upkeep keeps these hazards at bay, read about The Importance of Annual Maintenance to Your Water Heater.
Gather the following tools and materials:
- Safety glasses and heavy-duty work gloves
- Non-contact voltage tester or multimeter
- Phillips and flathead screwdrivers
- A standard garden hose
- A 1½-inch deep well socket wrench or a specialized water heater element wrench
- A replacement element (matching the voltage and wattage of your old one)
- A new rubber gasket (usually included with the new element)
- Dishwashing liquid (to lubricate the gasket)
- A nylon brush to clean the tank threads
Safety First: Preventing Electrical Shock and Scalding
We cannot emphasize this enough: never work on a water heater while the electrical power is active.
Find your home’s main electrical panel and switch off the dedicated double-pole breaker for the water heater. To ensure safety, remove the access panels on the water heater and use your voltage tester directly on the wire terminals. Do not touch any wires until you are absolutely certain the power is off.
To prevent severe scalding, you must also cool down the water inside the tank before draining it. Turn on a hot water faucet inside your home (such as a bathtub spout) and let it run until the water flows completely cool. This can take 10 to 15 minutes, but it ensures that you won’t be exposed to boiling water if a leak or spill occurs during the replacement process.
For a detailed look at the safety protocols and structural layout of electric water heating systems, check out the Electric water heater heating element replacement procedure, how to take out an old heater element, how to install a new water heater element.
Determining Correct Wattage and Voltage
You must always replace a heating element with one that matches the exact electrical specifications of your water heater. Installing an incorrect element can damage your system, trip your breakers, or even present a fire hazard.
Look at the metal data plate located on the side of your water heater tank. It will list the required voltage (typically 240V for residential homes, though some smaller utility tanks use 120V) and the wattage (most commonly 4500W or 5500W).
- 240V / 4500W elements are the residential standard, capable of heating approximately 21 to 40 gallons of water per hour.
- 240V / 3500W elements are less common and heat around 16 to 30 gallons per hour.
Never install a 120V element into a 240V system, as it will burn out almost instantly. Conversely, installing an element with a higher wattage than your tank’s rating is dangerous unless you are certain your home’s wiring (minimum 10-gauge wire) and circuit breaker (minimum 30-amp) can handle the increased load. Stick to the specifications listed on your tank’s data plate.
For technical insights on choosing the right replacement parts, consult How to select and replace water heater element.
Step-by-Step Guide to Replacing Your Heating Element
Once you have purchased the correct replacement element and confirmed that the power is completely off, you are ready to begin the hands-on portion of the project.
If you are curious about how different water heating systems compare before diving into this repair, check out our guide on Exploring the World of Water Heaters.
How to Safely Drain the Water Heater Tank
To replace an element, you must lower the water level in the tank below the height of the element you are replacing. If you are only replacing the upper element, you only need to perform a partial drain. If you are replacing the lower element, you will need to drain the tank almost completely.
To drain the tank safely, follow these steps:
- Ensure the electrical power is off and the water inside the tank has cooled.
- Turn off the cold water supply valve located at the top of the water heater.
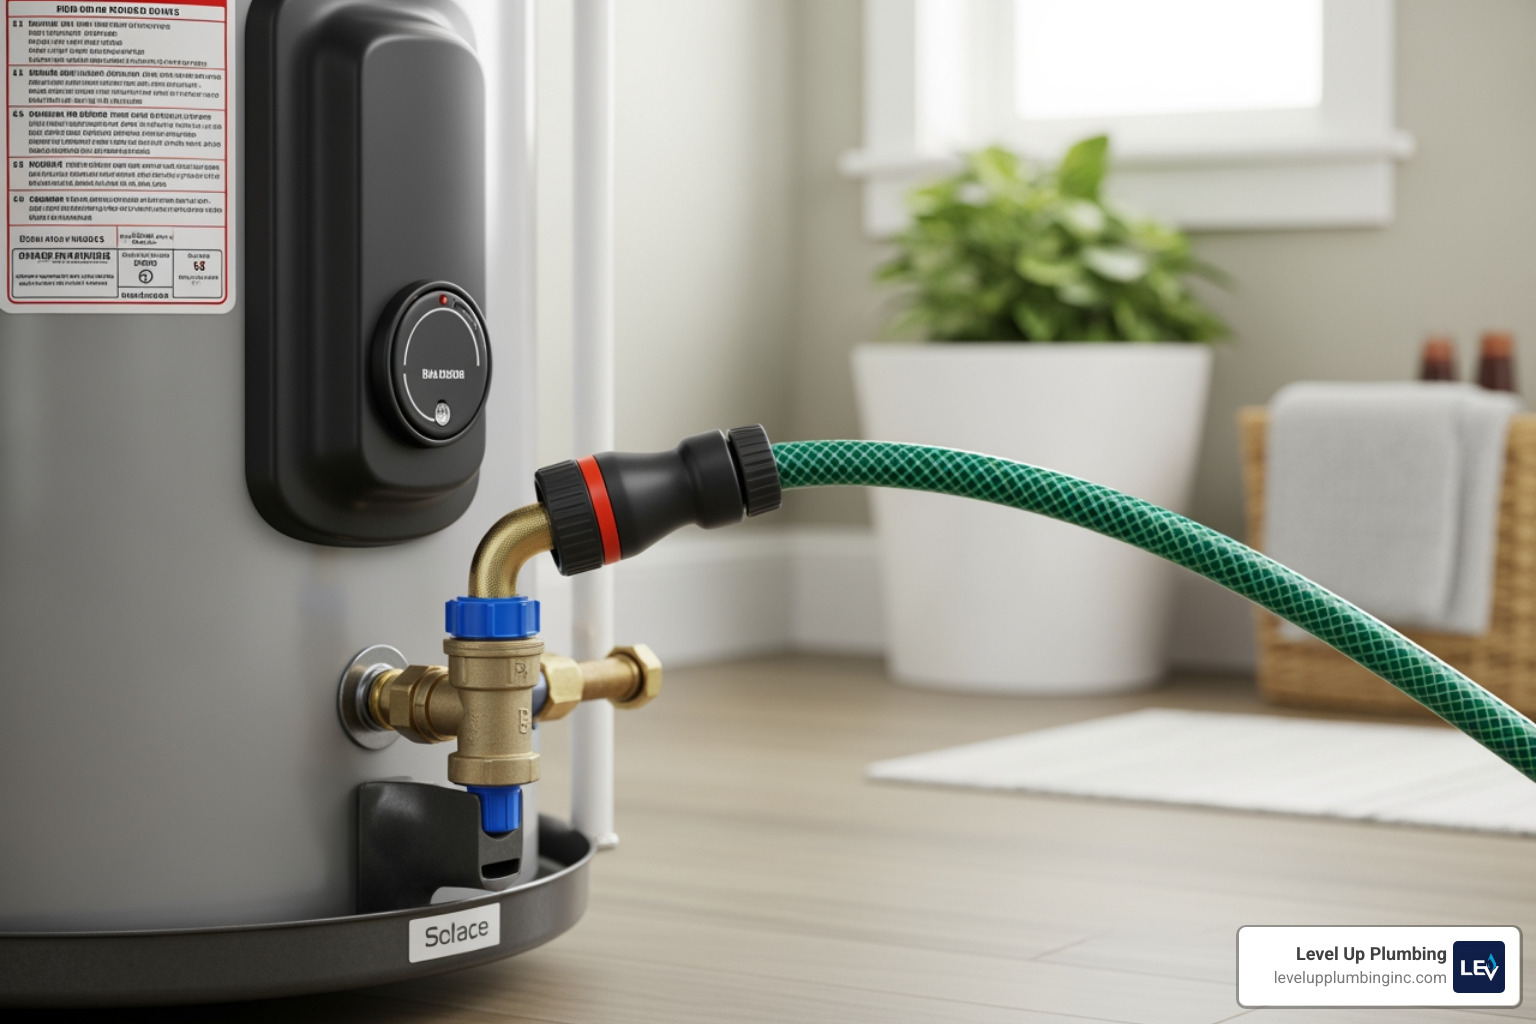
- Connect a standard garden hose to the drain valve at the bottom of the tank. Run the other end of the hose to a safe drainage location, such as a floor drain, driveway, or garden area.
- Open a hot water faucet somewhere in your home. This breaks the vacuum inside the pipes, allowing the water to drain smoothly out of the tank.
- Carefully open the drain valve on the water heater.
- Note: If the water drains very slowly or not at all, the valve may be clogged with sediment. If this occurs, you may need professional assistance to flush the tank safely.
For additional manufacturer instructions on managing water levels during heating element repairs, see the guide on how to Replace the Heating Element.
Step-by-Step Hot Water Heater Element Replacement
With the tank drained below the level of the element, you can proceed with the physical replacement:
- Disconnect the wires: Use a screwdriver to loosen the terminal screws on the old element and pull the wires away. Keep track of which wire goes where.
- Unscrew the old element: Fit your 1½-inch socket wrench or element wrench over the hexagonal head of the element. Turn counter-clockwise to loosen it. If the element is rusted or stuck, apply firm, steady pressure.
- Clean the threads: Once the old element is out, inspect the opening. Use a nylon brush to clean any sediment, rust, or old gasket material from the metal threads inside the tank opening.
- Prepare the new element: Slide the new rubber gasket onto the base of the new element. To ensure a watertight seal and prevent the gasket from pinching or twisting during installation, apply a small drop of liquid dishwashing soap to lubricate the gasket.
- Install the new element: Thread the new element into the tank clockwise by hand first. This prevents cross-threading, which can ruin the tank. Once hand-tight, use your element wrench to snug it down firmly. Do not over-tighten, as this can crush the gasket and cause a leak.
- Reconnect the wiring: Secure the electrical wires back onto the screw terminals of the new element. Ensure the connections are tight, as loose wires can generate dangerous heat.
Refilling the Tank and Preventing Dry Firing
This is the most critical step of the entire process: do not turn the power back on yet.
If you restore power to the water heater before the tank is completely full of water, the upper heating element will “dry fire.” Without water to absorb the intense heat, the element will reach extreme temperatures and burn out in less than ten seconds, completely ruining your new part and voiding its warranty.
To safely refill the tank and prevent dry firing:
- Close the drain valve at the bottom of the water heater and remove the garden hose.
- Turn the cold water supply valve back on at the top of the tank.
- Keep a hot water faucet (such as a bathtub faucet) running inside your home. Initially, you will hear sputtering and air escaping from the faucet.
- Allow the water to run at a full, uninterrupted stream for at least three minutes. This ensures that all trapped air has been completely purged from the tank and pipes.
- Inspect the area around your newly installed element for any signs of water leaks. If you notice weeping or dripping, use your wrench to tighten the element slightly until the leak stops.
- Once you are certain the tank is completely full and there are no leaks, replace the plastic protectors, insulation, and outer access covers.
- Finally, switch the circuit breaker back on. It may take up to two hours for the water to heat up completely.
Frequently Asked Questions about Water Heater Elements
How long do electric water heater elements typically last?
On average, electric water heater elements last between 8 to 15 years. However, their actual lifespan is heavily influenced by local water quality. In areas with high mineral content (hard water), scale builds up on the elements, causing them to overheat and fail much sooner. Regular tank flushing can help extend their lifespan.
Can I replace a water heater element without draining the tank?
While some professional plumbers use a “vacuum method” to quickly swap elements without a full drain, we do not recommend this for DIYers. It carries a high risk of flooding your home or causing severe water damage if the vacuum seal fails mid-replacement. Draining the tank below the element level is the safest and cleanest method.
What happens if I dry fire a new heating element?
Dry firing occurs when power is restored to a water heater before the tank is fully filled with water. The element will overheat rapidly and burn out within seconds. Once an element has dry-fired, it is permanently damaged and must be replaced again.
Conclusion
Replacing a hot water heater element is a highly rewarding DIY project that can quickly restore hot water to your home. However, working with high-voltage electricity and pressurized plumbing is not for everyone. If you encounter rusted elements, a clogged drain valve, or simply feel uncomfortable handling the electrical work, it is always best to call in a professional.
At Level Up Plumbing, we are proud to be a woman-owned plumbing company serving Orange County, CA, including Huntington Beach, Cypress, and Garden Grove. With over 21 years of local expertise and award-winning customer service, we are here to handle all your plumbing needs safely and efficiently.
If you would rather leave this job to the experts, Schedule Professional Water Heater Services with us today!